And more after the jump below.

Leaves me to wish you all a prosperous and peaceful New Year and all the best for you and your loved ones.
--PK


There's a space movie which is long awaited by lots of people around the world. No, not Star Wars, it's something much closer to home. As a fan of "what-if" stories I am really looking forward to see the end product of this tour de force by film maker DS from Australia. This project already has taken him I think ten years. It's an independent production, DS writes, directs and takes care of the SFX.
His documentary style film tells the story of the US going to space more than 10 years before they actually did, making much bolder steps than they actually did and shows people going to - and landing on - Mars before Kennedy's decade was out. It shows interviews with (fictitious) astronauts and grainy footage of Von Braun's Saturn Shuttle lifting off from pad 39 in Florida. Wonderful stuff. Here's the new trailer, the first in four years. it shows a vision of a world around 1969 in which people have been to Mars, painted in stupendously vivid colours and images. I really hope this film will come to life real soon.
PS. I'll place an update on Gemini soon. I've had a heavy head cold the past few days...
--PK
Edit: It appears DS was arrested after raping two minor boys. Oh my word. Stupid fucking idiot. Well, that's the end of the line. Pity that the project now had been cancelled.
 |
| Yes, the astronaut is made of paper, too. The helmet however, is not. |

 |
| Click for bigger |

 |
| It is attached to the branch with a piece of thin wire. |
 |
| A little drop of clear acrylic paint made its beady little eyes a lot more vivid. |


 |
| It will be a lot smaller than the original build would be. The finished capsule will measure about 17 cm across. |
 |
| Let's start with the outer ring of the heat shield. |

 |
| To give a sense of scale: the smallest panel version is about 10 cm across, the middle one is 12,5 cm and the upper one measures a little more than 15 cm. |

 |
| Falcon 9 1.1 among its colleagues. Note how extremely long and thin it is. |

 |
| A classic example of a Waterstaat class 5 station: Kapelle-Biezelinge. photo: Wikimedia Commons |
 |
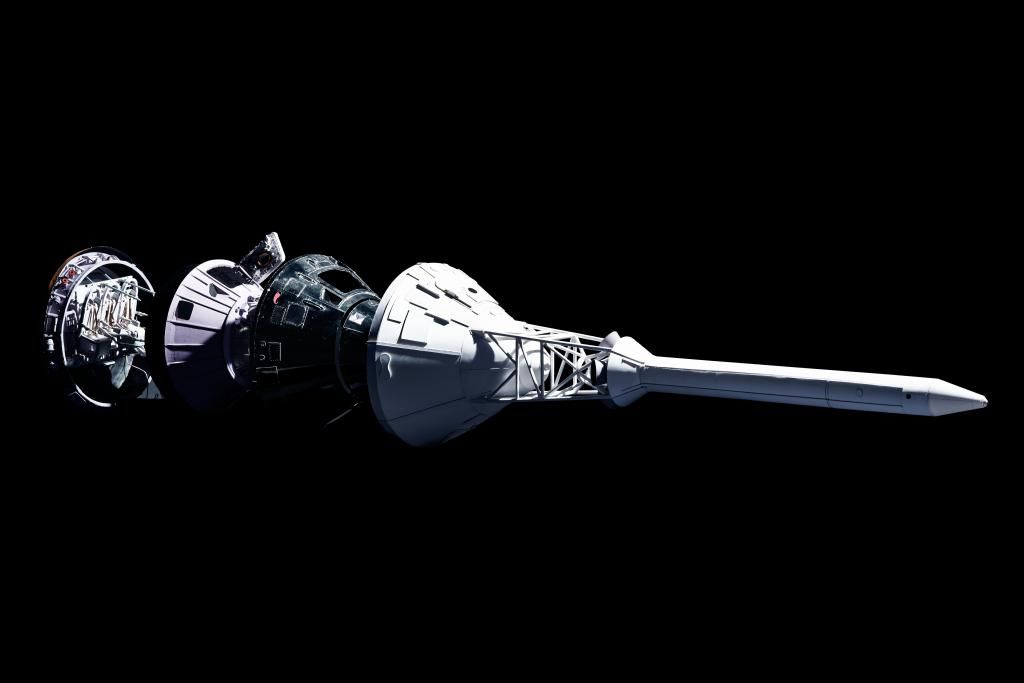
| left to right: LES/BPC, Outer skin, pressure vessel, couches and heat shield. Photo made by Peter van Dijk |
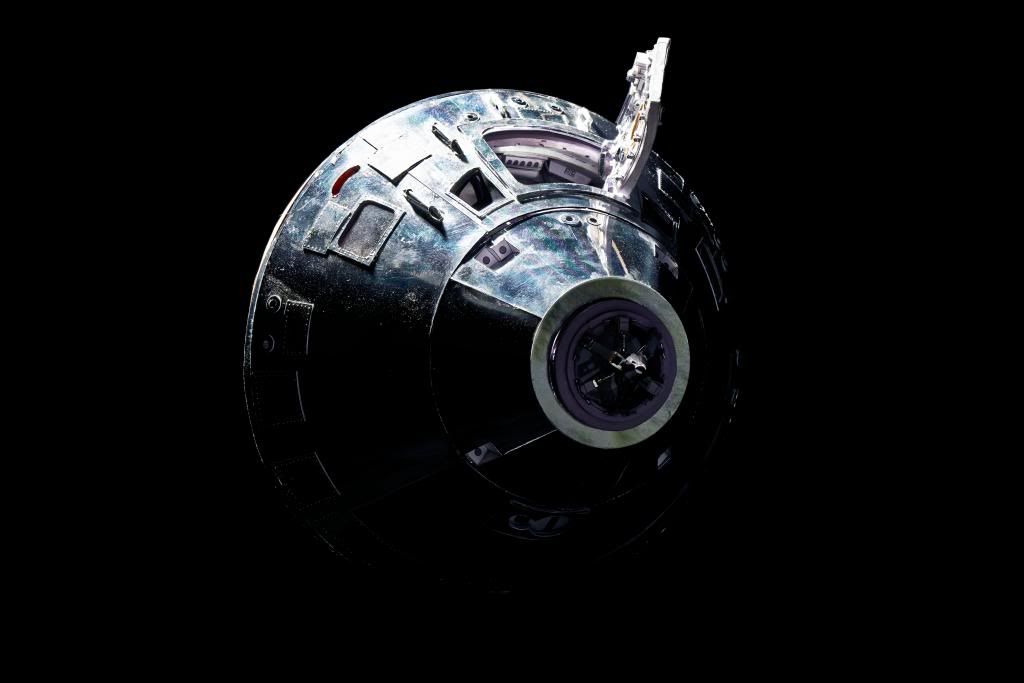 |
| The outer skin of the capsule was made from chrome coated paper. Photo made by Peter van Dijk |
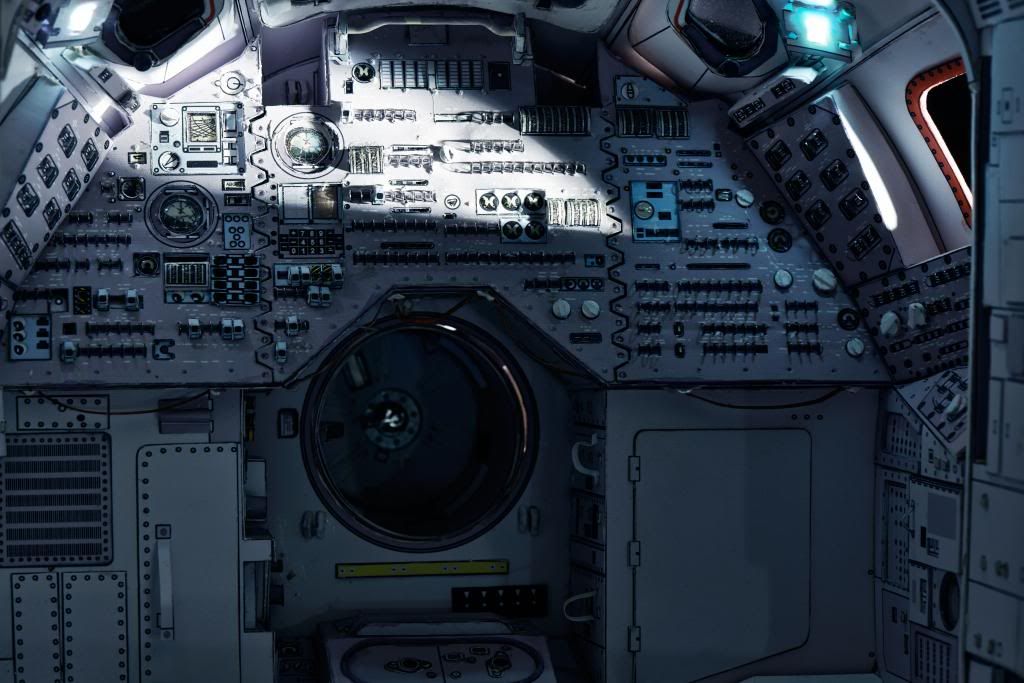 |
| Look how this one sublimely imitates the harsh unfiltered sunlight like it looks in outer space. The couches are removed in this picture and you are looking "up" into the tunnel between the Command Module and the LM. In the upper right and left corner you can see two of the working cabin lights Billy Leliveld added to his version. Hard to see on this photo but all the switches have finger guards! Photo made by Peter van Dijk |
 |
| Photo made by Peter van Dijk |


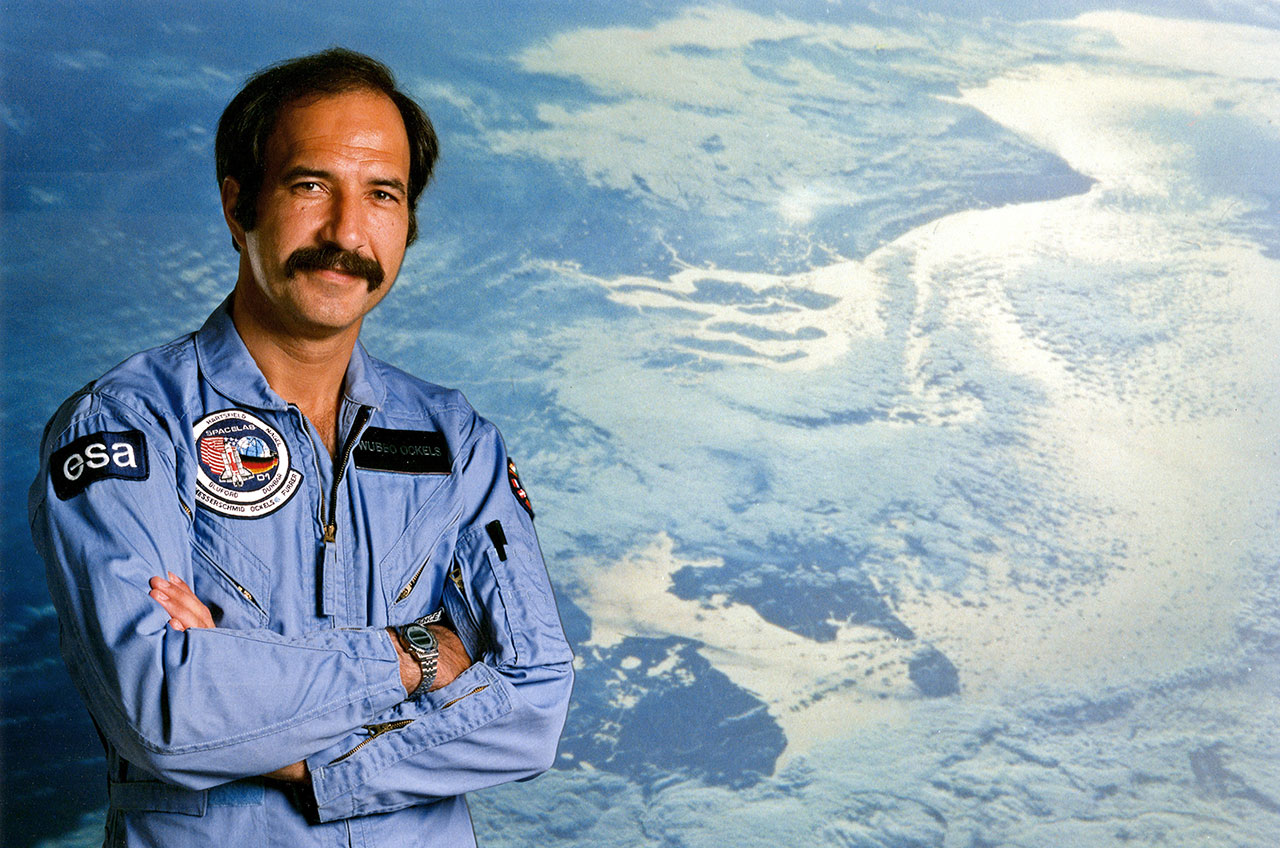 |
| Vaarwel, Wubbo. |


 |
| This is one of the photos I took at Ronchamp. it is actually the most cliché position to photograph the chapel, but it is for a reason. This spot actually shows one of the most impressive angles. |


 |
| The spacecraft pick up from Jules Verne's book |
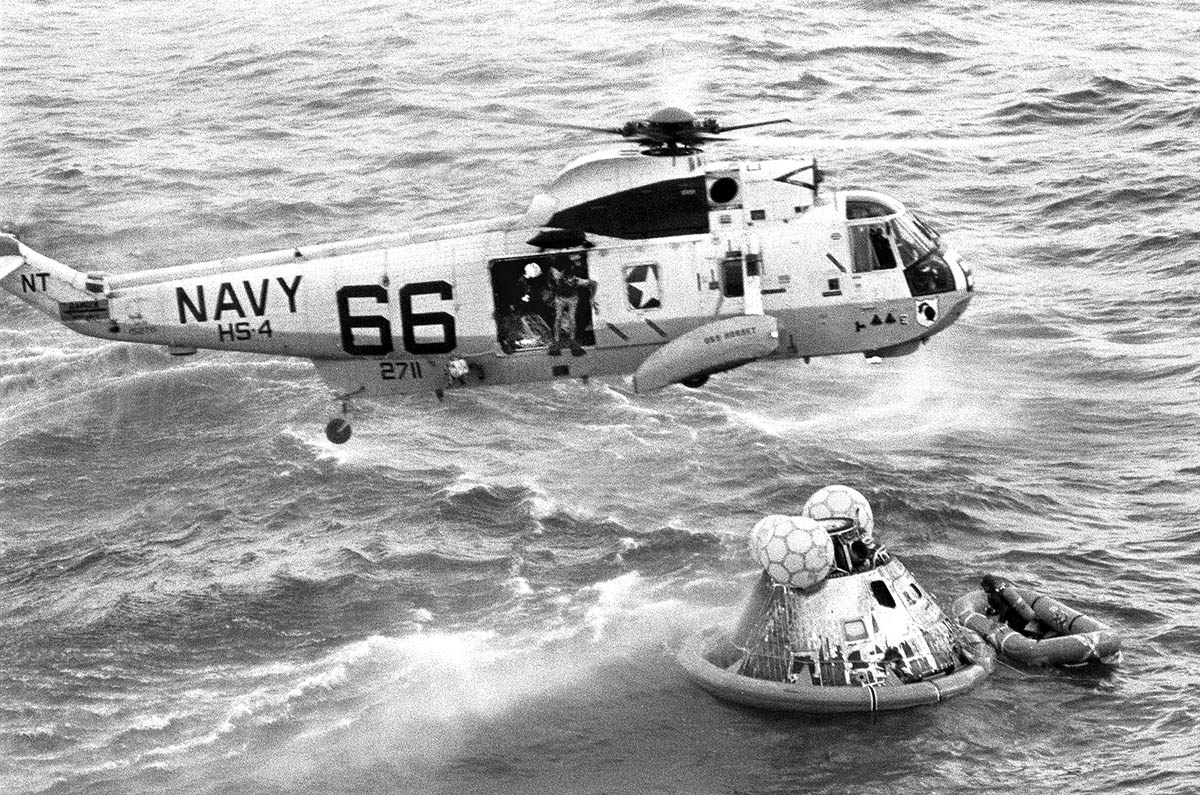 | ||||||||||||||||||||||||||||||||||||||||||||||||||
| Frogmen jump out of the helicopter to help the Apollo 11 crew. |
 |
| © AXM paper models / Alfonso X. Moreno |
 |
| image: © Jared Zichek |


 |
| Lagrange points around the Earth and its Moon. |

 |
| Gathering dust under a plexiglass hood. |
 |
| I can haz Falcon? |

 |
| I added the engine bells. Later on, I painted the insides anthracite. |