

As usual, Zio's builds almost always consist of just one A4 sheet, and this one is no exception. Every time I am taken away by the way mr. Prudenziati coloured his models. It looks amazing. You have to get used to his double glue tab-techique bit after you do, it is very nice to work with.

For the curvature of the fuselage I always use cut-off steel knitting needles. They are sturdy, handy and when you roll the part on the inside of your hand (see my tutorials) you always get a nice round curve.

The best method I found with this type of fuselage is to tackle the closing up procedure tab by tab. It doesn't matter if the previously glued tab comes a little loose again when glueing the next tab, just keep them sticking together in the end and if possible, use an opening on the top (the hole for the tail for example, or the place where the canopy will go) and squeeze the tabs together with a tweezer, while trying to keep the plane in its shape.

This is the only addition I did to Zio's model. It perhaps wasn't really necessary because eventually the nose will stiffen when the engine gets on and the glue hardens out. But it was kind of useful during handling the wings into position.

Now, the wings. Because of the giant engine and the propeller that had to go with it, Vought decided to give the F4U inverted gull wings. Very pleasing aesthetically, but a hard shape to make with just paper. My first try was not what I expected and I ripped it off the fuselage. Here's the second try. Zio doesn't tell you how to assemble the wings. He shows it in just one drawing but not whether it is better to first assemble corresponding top and bottom parts first and then put them together or assemble top and bottom part wing sections in full and then put those together. I decided for the last option. I curved the parts idividually to get a nice wing shape.

Now here are both wing halves assembled (this was the first try but the second wasn't any different in appaearance). When making thes halves the wing more or less automagically gets the gullwing shape. It gets even better when you help a little by letting the wings dry in that shape by putting small weights on the wing tips.

The glueing together of the halves is also tricky. I started with the trailing edge. Not the wing tips, I needed them open for using a knitting needle to round the leading edge to my liking. The upper and lower half go together nicely, and the leading edge needs just a little assistance of CA glue at the air inlets in the wing root. the glue tabs are tiny here and with CA you get them solidly in place immediately. I was pleased with the result the second time and glued the wing to the fuselage.


Only after the wings were glued on, I made the canopy. This way, I could still manipulate the fuselage glue tabs to stick to the wing rightly. I took a small embossing ball to round the canopy. The fit, of course, was excellent.

Engine time. Small parts, the valve rods are small but manageable. The tapered cowling rings needed to be edge glued.

With the aid of a pin, six tiny beads and some CA the propeller was able to spin free and lightly. The prop itself was reinforced with a drop of CA too. I forgot the backside of the propeller base. Oh well. When it was finally on, you can't even see it that good.


Then the wheels came on. This was done just as the instructions showed. The wheels themselves also are edge glued parts. A little hard for beginner s perhaps but an effective technique, avoiding hundreds of very tiny tabs to cut out around the wheels.

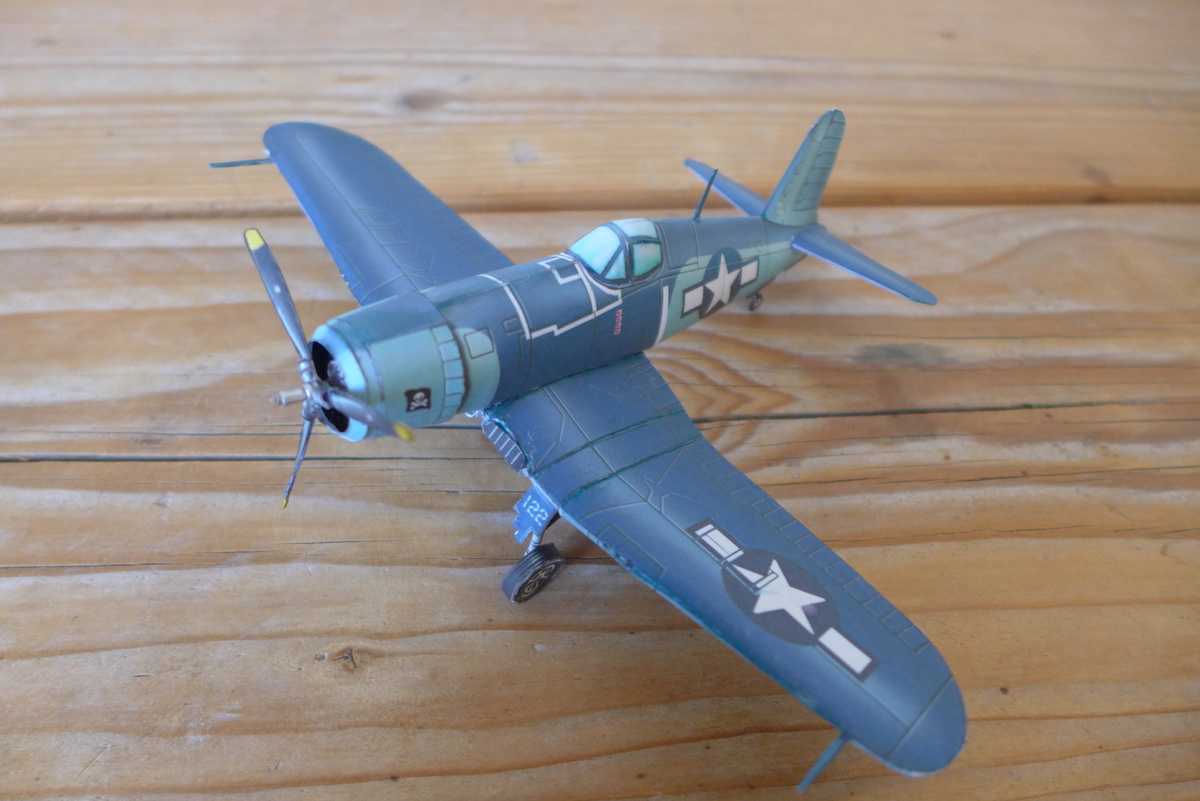
Prop test. Brrrrrrrrrrrrrrrrrr. It spun nicely. Now then, time for some beauty shots.


And next time I'll be back on track with ANS!
Thanks for stopping by and see you soon.
--PK
No comments:
Post a Comment
attention spammers: all posts are moderated before placing.
you won't get through. you lose.