
 |
| The 1946 Phantom. (photo: Wikipedia) |
 |
| The 1954 Phantom II With lenghtened nose and a very necessary cannon below. (photo: Wikipedia) |
The model has two sheets of parts and one sheet of glue strips. The fuselage consists of ring shaped parts and are reinforced with small shapes you have to cut out of cardboard.
The fuselage is relatively easy. I couldn’t find any glue strips parts to join the rings together, so I improvised those by strips I cut myself. It all fits well. I left off the nose caps to make sure I put enough weight in the fuselage to keep it from ending up as a tailsitter.

 |
| This was the only panel line error. I corrected this one with watercolour pencils. Also note I 'rescribed" the panel lines through the "3" |

The vertical tail is a bit more tricky. I didn’t even bother to use the strip Gerard provided in the kit and more or less curved the leading edge parts a little inward and edge glued the tail together. With a small knitting needle I brought the tail into shape.

I still have to get used to this thinner paper, 160 gram is light and easy to use but it also crinkles faster, especially when glue is involved.
Gerard wrote on his blog he had some trouble with the wing roots. I have to say, they indeed are tricky. In the one picture build scheme he used here, there is no indication which part needs to go first and which next. It is useful to follow the numbering but that does’t always end up being the correct order. I cut out the two cardboard ‘flanks’ of the plane and bent them over a wooden stick to get a curvature that fitted on to the fuselage. It seemed appropriate.


 |
| halfway there.. |
 |
| closed up but not yet shaped. |
 |
| finished leading edge wing root |

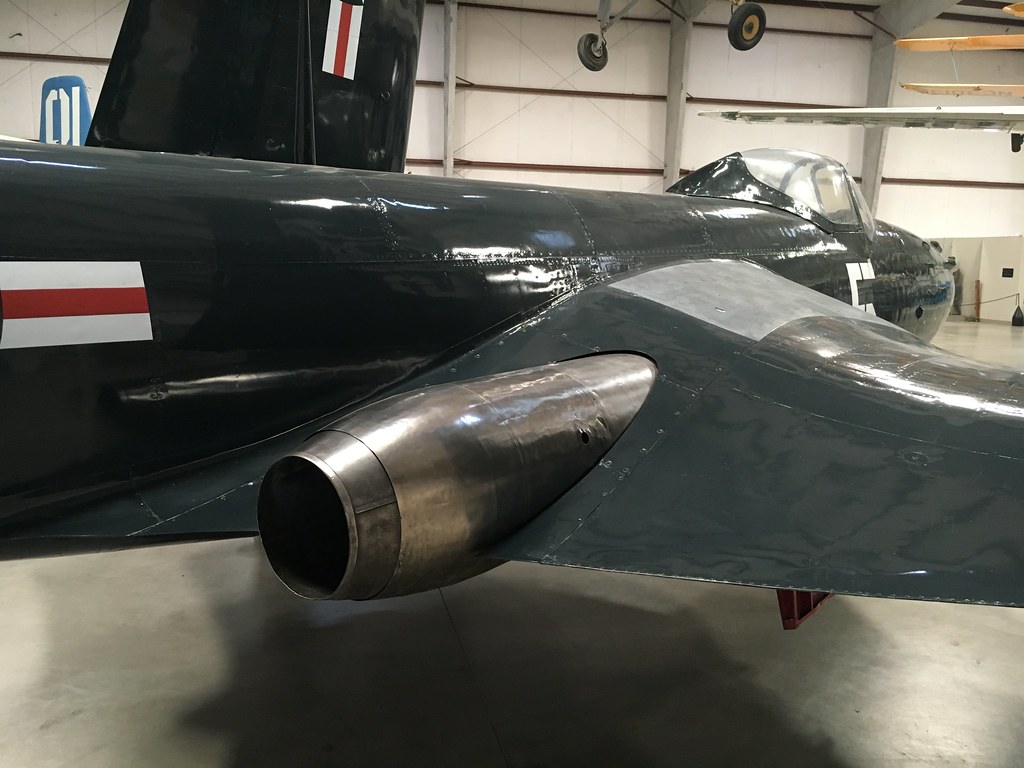 |
| Photo: Paul Woodford [PQGW @ Flickr.com] |


The canopy went together very well but I couldn't get it in the right position and shape on the fuselage. It might just have been me, but when the back was in place, the front end was not right, and vice versa. When just pressed into place, it was too shallow. The canopy should have this nice 'popping out of the fuselage'-feel and this wasn't it. I looked for the problem and I found there was a lack of curvature in the canopy. I corrected this in Photoshop. beforehand I camouflaged the white area with some dark grey pencil. Just in case.


 |
| On the right: the original canopy. Left: my new canopy. |


As a little extra detail, I cut out a 102% enlarged canopy frame and glued it over the photo paper glossy canopy. It just gave it that little extra depth.

Now here, I kind of deviate a little further. And I know it isn’t fully accurate. But because of the lack of space on my shelves and it being a naval plane, I thought it would be nice to display it with its wings folded. So I’ll build the wings and place them folded. The only inaccuracy here is that the pivot point was just a little further up the wing than where I now have them folded. But correcting that would have been a big operation and I wanted it to be a relatively quick build. So I’ll leave that as it is and just fold the wings like this. Sue me. (-:


Concluding, I have to say, I enjoy this build. I really do.
For the time being you'll have to do with this. After the weekend there will be an update on the second wing and the rest, hopefully...
Thanks for being here
--PK
No comments:
Post a Comment
attention spammers: all posts are moderated before placing.
you won't get through. you lose.