
 |
| photo: Wikimedia.org / Aleksandr Rebrov |
More on that below.
The M-55: A short history
First the almost unpronounceable name of the company. Myasishchev's name has to be pronounced approximately like a three-syllable word: “Myissys-shiff”, the vowels a little indistinctively sounding and the emphasising on the first syllable. The company hasn't built many planes, but the ones they made were quite big and strange looking ones.
This high-altitude plane was the third incarnation of an attempt to build a Soviet spy plane, originally conceived to shoot down high-altitude spying balloons. For that purpose, it would have been equipped with a gun turret on its back. Subjekt 34, or Chaika (gull) as it lovingly was called, was a single-engined jet plane that had slight, inverted gull wings, like the F4U Corsair. from the bent section of the wings, the plane’s two tail booms pointed backwards. Subjekt 34 crashed on its first unintentional flight during taxi tests.
 |
| Objekt 34 "Chaika". Note the little turret between the wing roots. (from: Soviet X-plane by Yefim Gordon & Bill Gunston) |
 |
| The M-17 Stratosfera. Single engined, shorter fuselage, slightly altered tail and very different wing. No turret. |
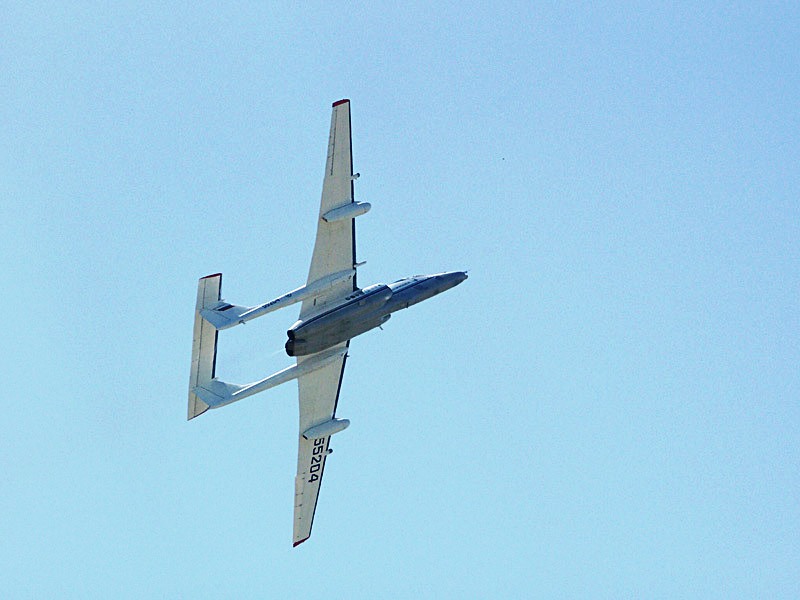
Its main usage now, is again comparable to that of a special version of the U2: the NASA-operated ER-2. The M55 does high-altitude research, measuring air, land masses, and can loiter over a certain area for over six hours. The M-55 also gets hired by organisations outside Russia to do research.
There originally were just three M-17s built. The only one left is now deteriorating at Monino, the giant open air aircraft museum in Moscow. Its tail booms have broken and it has sagged to one side. While its younger brother still flies, the M-17 is more or less gone.
 |
| The only left M-17 is seen in a decaying state at Monino, Moscow. Photo by Eileen Dover, shown on Jetphotos.net. |
Now I had the feeling the model’s original scale, 1/33, was much too big for me and especially for my shelves. So I reduced the model to print it at 70% of its original size to make it 1/48 or thereabout. (roughly A4 to A5, so two sheets on one A4) and this leaves me with a plane that still will be considerably large. I guess it might be over 50 cm long, and I am not talking wingspan here, that might be even more. We’ll see!
 |
| Lots of sheets, lots of parts. Much detail! |
Research and study
I collected lots of photos of the M-55 (the specific one Maxim used for his model) to get myself a little database. I always like to know a lot about a model before I start it.
Lessons learned with my first MaksArt build last year, the Zil 4906 Kran with Soyuz capsule, First thing I do when starting his make of models is to thoroughly study the plans and the sheets. There’s so much! Some stuff is so tiny! Where goes what part? What number corresponds with which piece? It is not always that obvious. Also, sometimes it’s handy because well, model designing is the work of people and sometimes a small mistake can be made. I already found some; Number 26.1 on the drawings actually is number 28 on the parts sheet. It’s the tiny experimental pitot tube cones on the wings' leading edge. Another one is part 8.40, the nose gear wheel bay. it is not numbered but it’s the big green box on the tiniest parts sheet. Part 1.27 is designated to two different parts, a panel on the starboard side of the plane’s nose section and a double part of the cabin tub rim. It is quite logical which is which and where they have to go. There might be more but I haven't found them yet.
Begin
First action was to cut the A4 sheets on which I printed the A5-sized sheets in half. Next I used spray glue (yuk) to back the framework parts and all other pieces that needed to be backed with cereal box cardboard. I used a rubber roller to press the paper flat to the surface. This is the first time I used spray glue. I am not that big a fan of glue aerosols. But if I had to glue these parts with white PVA, it would have been a hassle and a mess. This is much easier to get a good backed flat surface.
Now where to begin the build? I guess it’s best to just start with #1. So it’s the forward part of the fuselage. And it is a little wonder in itself. The framework cut out of cereal box card is a full 100% perfect fit. It looks great. And big. It is going to be big.
 |
| Just the nose section. The engine section has to be added and is about as long as this piece. |
 |
| The three formers below the structure will be added later and will become the nose cone. |
 |
| Clockwise from top: Main tub wall parts, a couple of instrument panels for the side walls, mid-lower console, foot pedals, folded starboard side console, port side console, main instrument panel, back of instrument panel block, additional set of switches on top of the panel. |
 |
| Foot pedals. |
 |
| Tiny parts. |


And it went well. The holes in the instrument panel were created with hollow needles and my smallest hollow punch (2mm). Lots of 1mm x 1.5mm pieces had to be glued on to the panel. After finishing, I put a drop of clear gloss acrylic paint on all of the gauges, to get the glass effect. That went reasonably well, too.
I used a few little pieces of sewing pins to make the handles and the stick. A drop of paint on the little heads to make the handle’s knobs.


If we stick to the build order, up next will be enclosure of the fuselage, build of the canopy and then the wings. That'll be later on next week, this has to do for now.
See you soon,
—PK
No comments:
Post a Comment
attention spammers: all posts are moderated before placing.
you won't get through. you lose.