
I am really busy at the moment, so that's why the updates are less frequent than I would like to. But in august already I promised you some progress pics, so here they are.

Not much, I admit, and the whole process has to be repeated once more, but the first SRB is there, apart from the struts attaching it to the External Tank. More on the build below, after the jump.
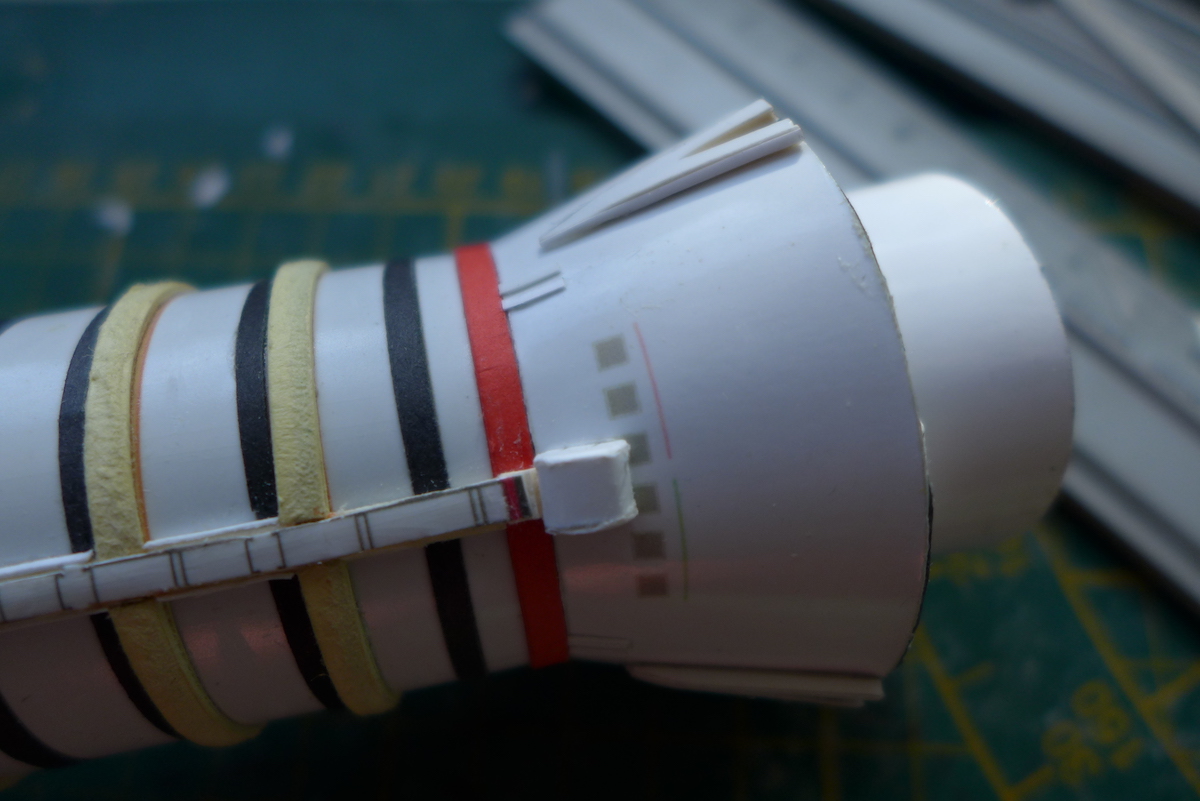
The SRB's were printed on semigloss photo paper. All the segments were separated, for easier assembly. The seams would be camouflaged with a strip of paper anyway. I kept them rolled up like this for about 24 hours. (Note: the photo shows another SRB, but that one was well on its way until I figured out it was just about 7% too large. Potverdikke!) Also, the nose cone was not right either.

I glued the segments one by one, then I detailed the surface by adding small rings around the seams of the segments to camouflage and accentuate them. Also here you can see another attempt gone wrong, but this one got a second chance as a test vehicle for techniques and handling. So it served a purpose after all.


The insides were thoroughly reinforced with circles of card, the lower ones with a centered hole for the knitting needle they eventually will be held upright by when the stack is placed on a pedestal-sort-of-thing. I use very thick ugly-coloured hobby card for this, it has almost no purpose as actual model material but it is perfect for strengthening the structure. Using it inside cylinder walls prevent the circles showing up like nasty rib-like marks through the outer skin.


I used tripled-up yellow coloured card (sometimes this coloured paper does come in handy!) which I then sanded and shaped into a ring for the extra insulation on the bottom segment, I also made a better shaped exhaust cone (the inside originally just was a straight cone and I used a rocket motor bell from another model to give it more of a curvature.)


The thrust vectoring skirt (the engine nozzle of the SRB's could swivel, and they protected the insides of the housing withsome kind of cloth-y skirt) was from yet another model kit (By Bill Spencer). I must say I am very pleased with the result. The inside of the engine nozzle got an eleven-pointed star, just like the real thing has, and the cable run alongside the booster was made from mat paper from an old passe-partout frame I had. Also the reinforcing V-shaped structures at the bottom end of the SRB were made from mat paper. These inverted "V"-shapes are the parts that kind of keep the whole stack upright on the pad. Between the legs of the V is an explosive bolt that holds the stack to the launch pad that snaps when the boosters ignite.


I hope the other SRB will come out just as nice. I made a stand for
the ET to get it at the right height for attaching the SRB's, hopefully
without a lot of troubles. After the second SRB will be made, the stack
will be put together.
I still am looking for a nice pedestal to put it on, I want to put it in a perspex encasing on my shelves. That is something for later, For now, to get the modeling juices flowing again I think I first want to make an inbetweenie, and I guess a little Zio creation will be perfect for that. So expect a nice little old plane first before I tackle the second booster.
Thanks for dropping by and see you relatively soon, hopefully.
--PK
PS. I am very very, no, hugely disappointed in the new user interface in Blogger. My to-go font Trebuchet apparently has stopped working, the lay-out buttons are much less intuitive and harder to find and it makes me long for a site of my own. I might gonna try this in the not-so-distant future. Also to get rid of most of the tentacles that Big Brother Google has in my life.
No comments:
Post a Comment
attention spammers: all posts are moderated before placing.
you won't get through. you lose.