
Inner shield attached to the bottom, the skin nicely scorched and rough.

The rest of the story follows below.
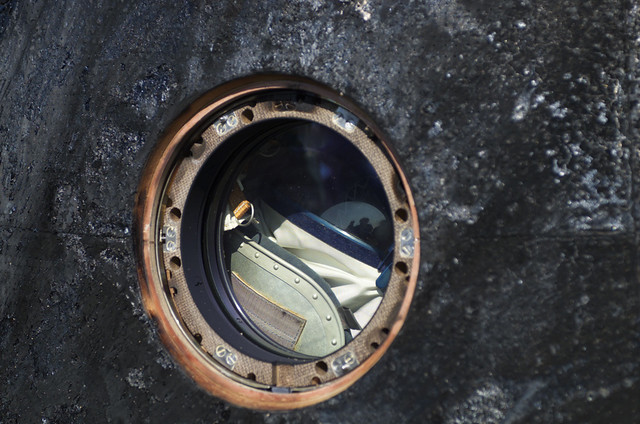
I left you last blog entry with a trial of the inner shield of the capsule, I decided to print the definitive version on metallic coloured paper.
Placing the text and the locations of the rescue instructions was tricky and I trusted mainly on my eyes and the pictures I have seen of the backside.


The definitive version had a slight tint and the places where the pictograms needed to go.

It all came together very well. Almost no seams, although the photos suggest a big rim around every ring. It actually feels quite smooth.
For a moment, I was tempted to use a parody of the rescue instructions I saw online:
 |
| a very funny drawing made by Redditor u/Flatag |


Then I just glued them onto the shield itself.
While that dried, I created a thick 5mm inner strip in the underside of the capsule to reinforce it a little more. Inside this ring, I placed a reinforcement ring. This was also drying and I made the hatch for the slightly radioactive altimeter. I think it will be removed by personnel after landing but I don't know for sure. So I incorporated it in my build anyway.


Next step was to close it all up. So I did.


The other side however is burnt to a crisp. The capsule's skin is rough and looks like sandpaper. And that was what I initially wanted to use but that didn't work well. So I did this:

Using black paint and birdcage sand (We Dutchies call it schelpenzand; shell sand) I made a structure paint I 'pushed' onto the capsule's hull.


To have a comparison with the original thing, below is a close-up photo of the Soyuz after landing:
 |
| Photo: © esa |


And that's it! Maybe, when I have lots of room, I make it into a diorama, but not now. I have almost no space left on my shelves and need to get rid of older stuff, I'm afraid.
But there will be more models coming! Up next is something from the past with wings. And propellers. More on that next time, perhaps.
For now, thanks for stopping by and see you next time.
--PK
No comments:
Post a Comment
attention spammers: all posts are moderated before placing.
you won't get through. you lose.